Profiles
A Person anywhere in any Data Table must have a Profile with a corresponding ProfileID. A Defendant with 3 cases who is also a witness in another case should have just one Profile that is referenced 4 times. The Profile contains a person’s demographic information including Name, Address, Sex, Race, Height, Weight, SSN and Driver’s License Number.
Navigating to the Profiles Table
There are several ways to get to the Profile Table such as:
- - Quick Menu
- - Ctrl-Z
- - Right-clicking a Name field
- - The 'P' button
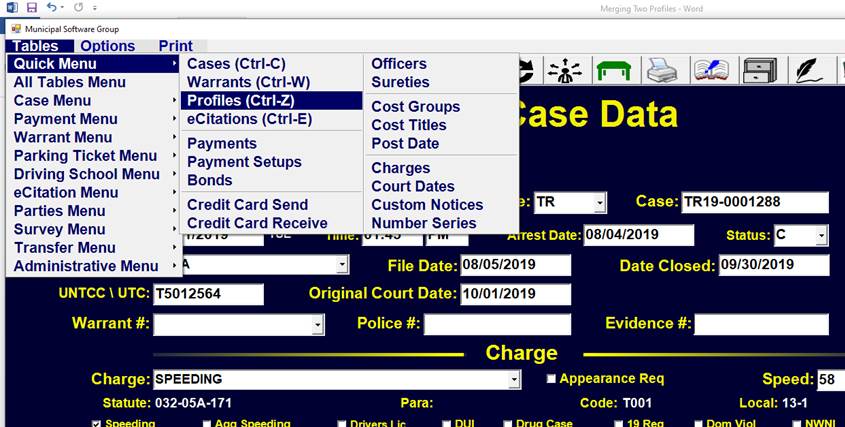
Quick Menu
Clicking on the Quick Table Menu will display the Profiles Menu Item
The Quick Table Menu button
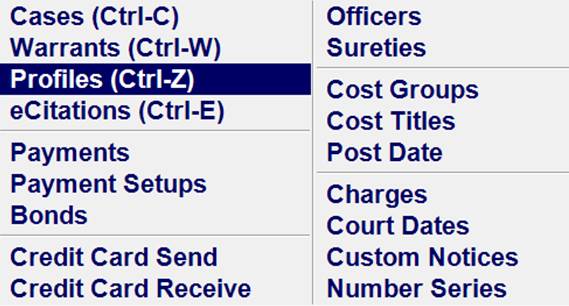
The Quick Table Menu
This will lead to the Profile Table.
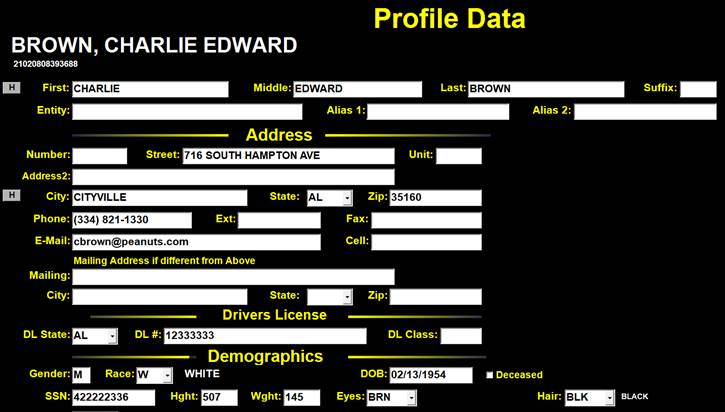
Profile Table
Ctrl-Z
Typing Ctrl-Z will go to the Profile Table from anywhere.
Right Click on a Name Field
A Right Click will display a menu with a choice to Browse/Edit or Create a Profile will display the Profile Record of the name in that field.

A Right Click will display a menu with a choice to Browse/Edit or Create a Profile will display the Profile Record of the name in that field.

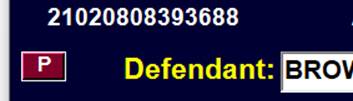
Click on the 'P'
The ‘P’ Profile Button will go to the Profile Table and display the Profile Record that is currently in the Name Field.
Adding a New Profile Record
From a Blank Name Field Right Click and Select Create New Profile

OR
Click on the ‘P’ Button next to a Blank Name Field.

OR
From the Profile Table click on the ‘Add Record’ Button in the upper left.
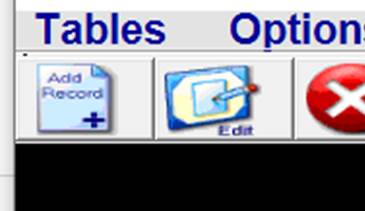
The Add Record button is on the far left
The New Profile Box will appear. The Last Name is entered followed by a Comma, a Space, First Name, a Space, and Middle Name.
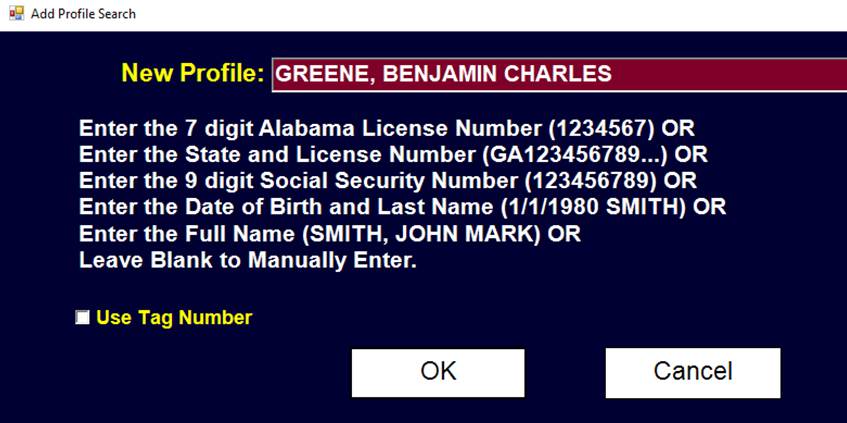
Click ‘OK’ or Press ‘Enter’ to see a List of current Profiles with the same Last Name.
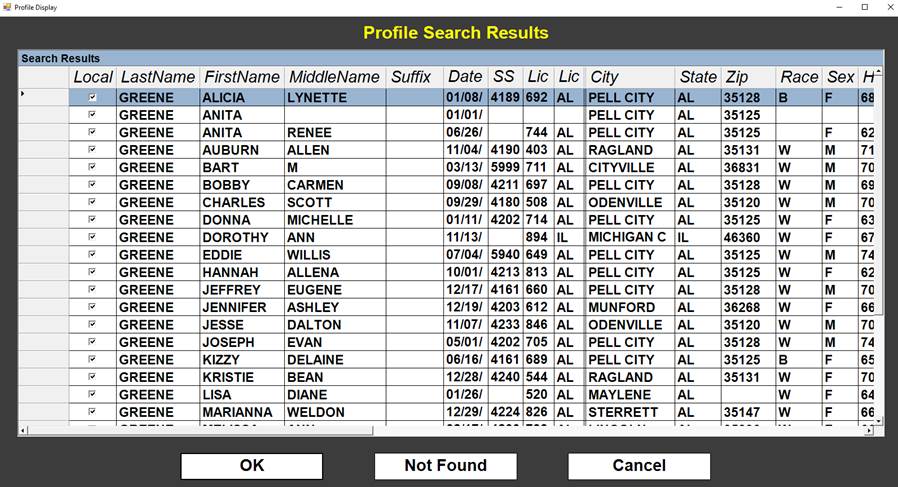
Profile Search Results
If the Name is found, click 'OK' to go to that Profile. A new Profile is not needed.
Otherwise, click 'Not Found' to begin entering the new Profile information.
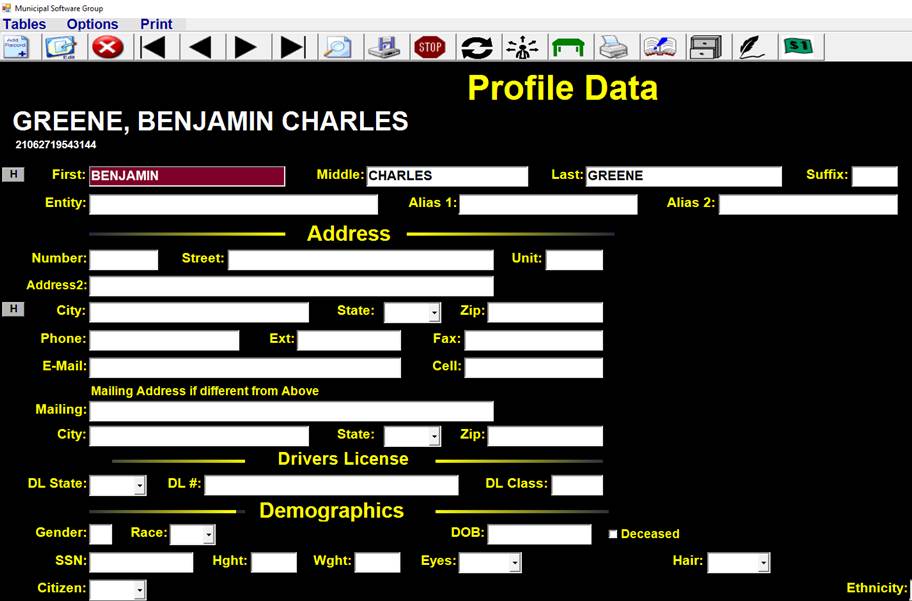
The Name originally entered will be placed in the Name Fields.
A unique Profile ID will be created from the current date and time.

Note: Up and Down arrow keys, Tab, and Enter may be used to navigate between and change fields, in addition to using the mouse.
The Entity Field is for entering a business or organization instead of a name.

The Alias Fields contain other names this person may be known by.

The Street Number may be entered in a separate field or with the Street itself.

OR

The Mailing Address need only be entered if different than the Main Address.
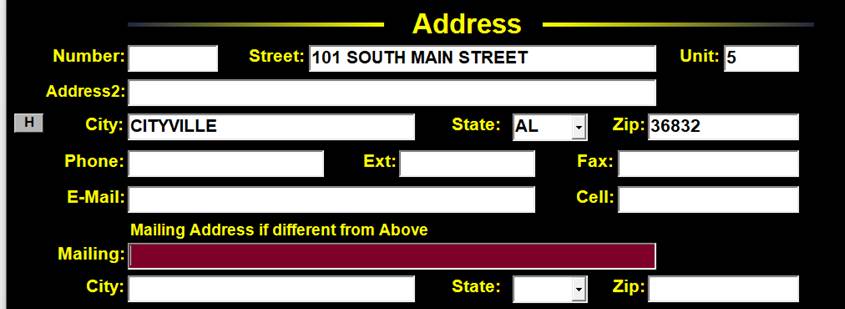
The Height is entered as a 3 digit number with no punctuation.

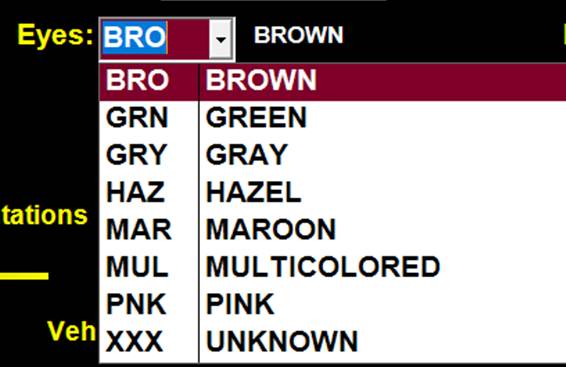
Any field with a down arrow has a drop down box from which a selection may be made.
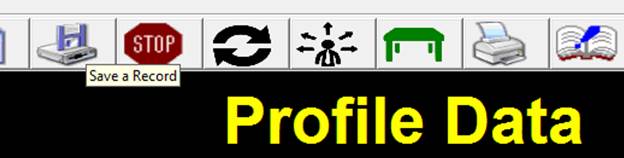
After the available information has been entered, the save record icon should be clicked.
If the Add Profile Originally came from a Name Field in another table, either the ‘ESC’ key should be pressed or the ‘X’ in the upper right should be clicked.
Upon returning to the original table, the new Profile name is auto populated.

Saving Profile History
In the Profile Table there are 3 History Buttons with a single ‘H’ on them.
The buttons are for saving the Name, the Address, or Vehicle Info to a history area prior to changing the fields.
Navigating to the Profiles table
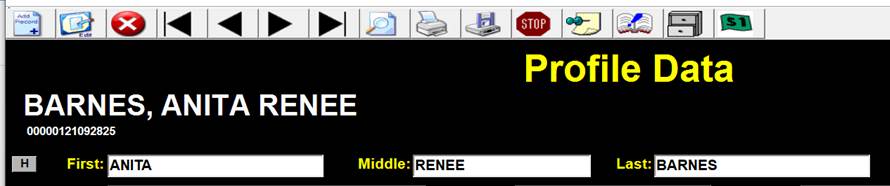
Name
Navigating to the Profiles table
Before changing ANITA RENEE BARNES to ANITA BARNES HAMILTON, clicking on the ‘H’ button will preserve the original name in the History Section for future reference.
>
Navigating to the Profiles table
Address
Click on the ‘H’ before changing the address to store in the History section.

Navigating to the Profiles table
The History Section is at the Bottom of the Profile Form.
>
Navigating to the Profiles table
Vehicle Tag
Vehicle Information may also be saved in History by Clicking on the ‘H’.

Navigating to the Profiles table

Navigating to the Profiles table
Merging Duplicate Profiles
There should be only one Profile Record per person in the Profile Data. Duplicate Profiles of the same person should be combined into one Profile Record.
Steps
-
Once you have confirmed that two profiles exist for the same person by comparing the Address, DOB, SSN, DL Number and other demographic fields, choose one profile to be the Primary Profile Record. This is the record that will be kept, into which the second profile will be merged.
-
Navigate to the Profile Data by clicking Tables > Quick Menu > Profiles (or Ctrl + Z)
Navigating to the Profiles table
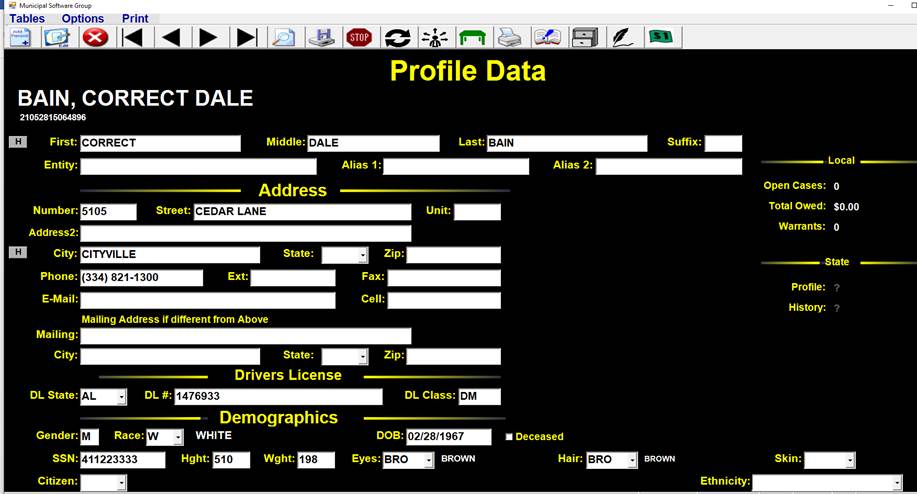
If you have correctly navigated to Profile Data you will see this header at the top of the window:

The Profile Data header
-
Go to the Profile Record you wish to remove (See Search for Records, if needed)
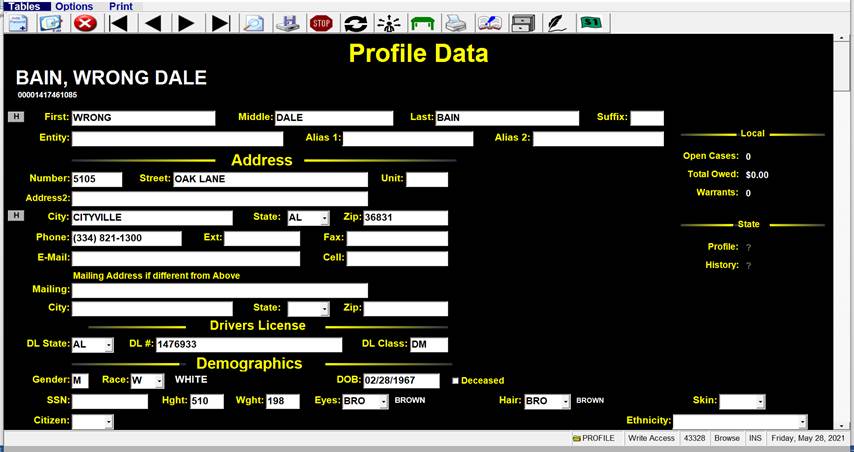
The profile to be removed
-
Make sure this is actually the Profile Record you wish to Remove and Click Delete

The delete button
-
If there are no records attached to this Profile then this Profile simply needs to be deleted as there is nothing to merge.
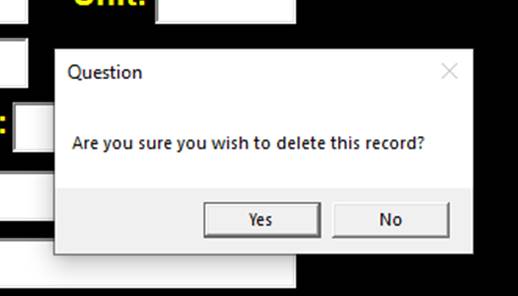
Profile deletion confirmation
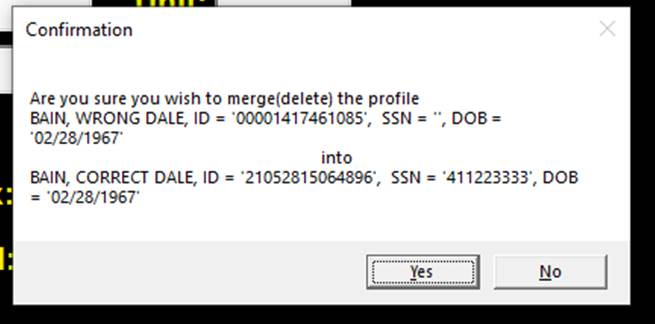
If there are records attached, a message asking to merge will appear.

Merge confirmation
Click on Yes
-
Search for the Record you wish to merge into.
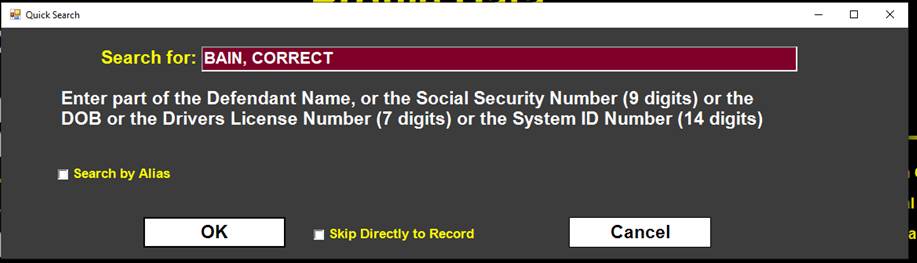
Searching for the profile to merge into
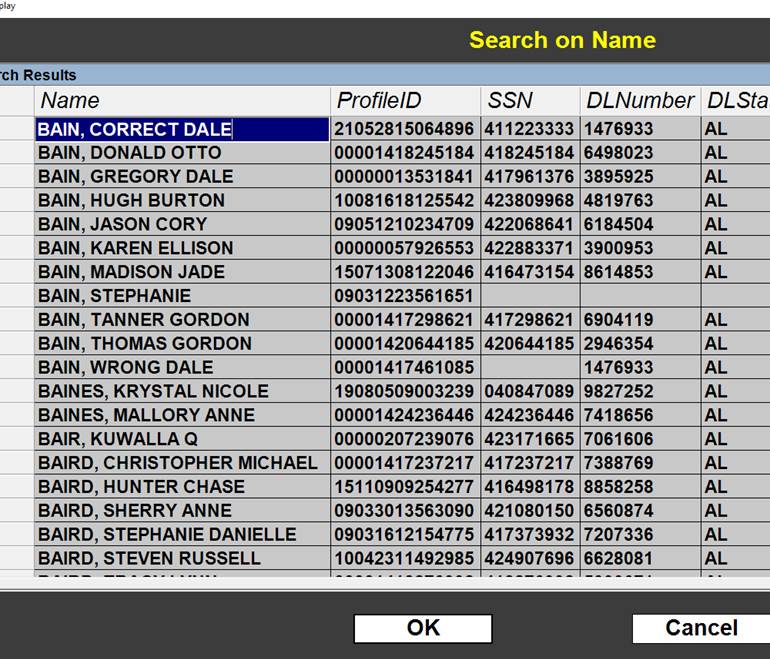
The merged profile
-
Look carefully at the information on the Confirmation and Click on Yes
The search results
The merged Profile has been deleted and the Primary Profile will appear.
The merged profile